Daily Bread Details - Part Deaux
(Click here for Part 1.)
So you've gotten some shut-eye, shipped the kids off to the schoolbus, and now you get to greet your little creation:
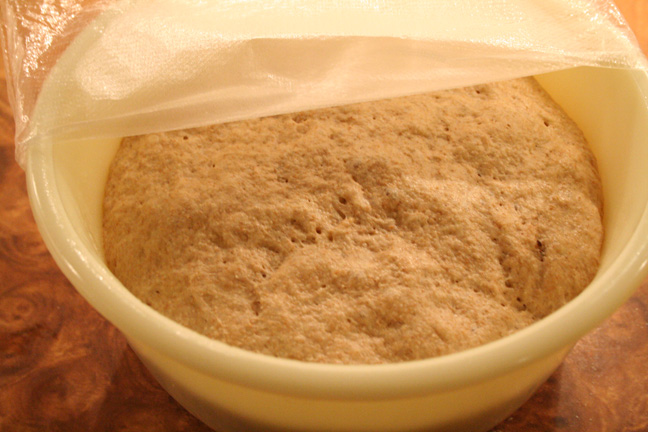
Coochey-coochey-coo, isn't it adorable? It seems like they grow up overnight, doesn't it?
Time to shape that baby into the loaf you want it to be when it grows up! These steps come from The Bread Bible by Rose Levy Beranbaum. (I highly recommend this book!)
First stretch the dough out into a rectangle:
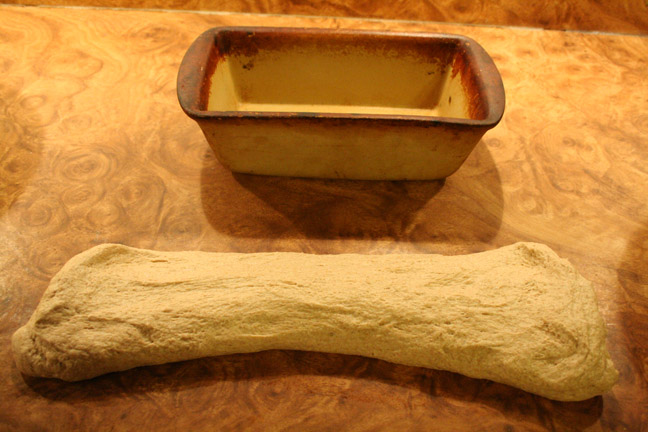
Then fold one side over, just past the halfway point:
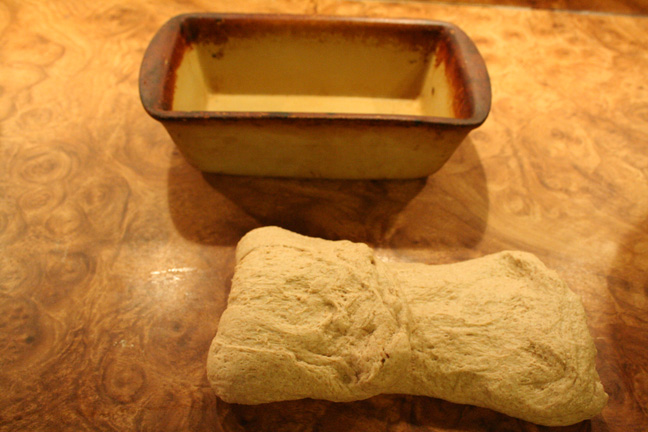
and fold the other side over:
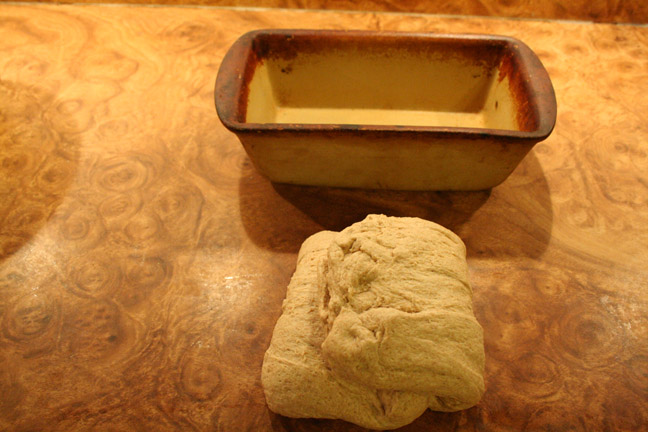
Then, starting at the top, roll the dough down about a third of the way, pushing the top edge into the dough:
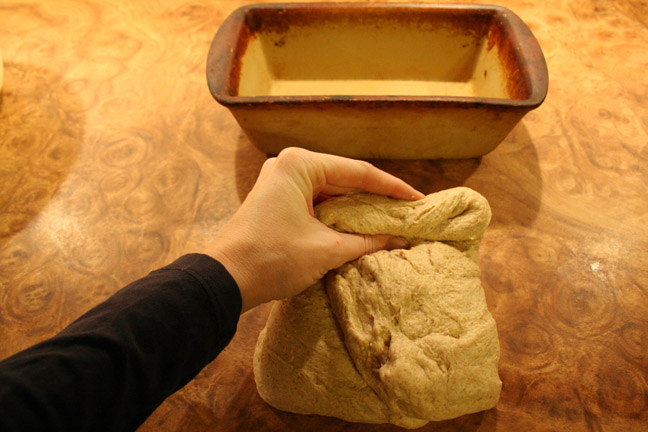
(Obviously, you won't be wielding a camera and will do this with two hands.)
Repeat:
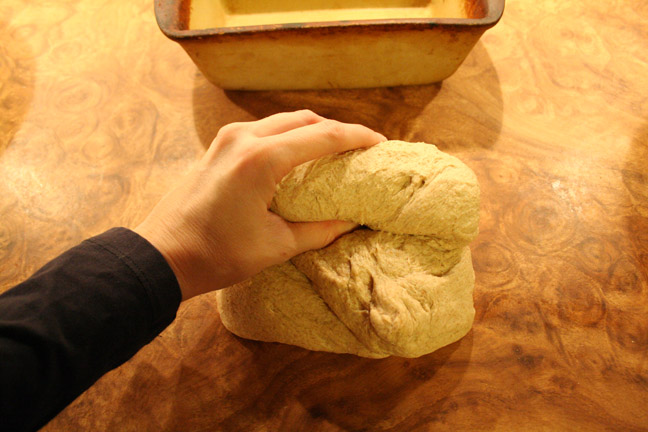
And repeat again. You end up with a nice, well, bread-shaped loaf:
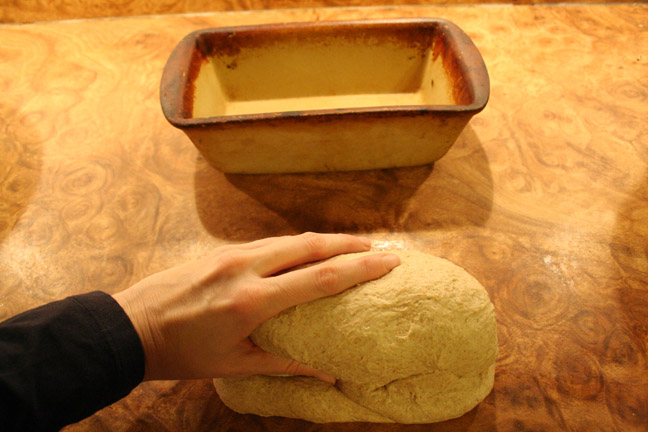
Put it into your greased bread pan, cover loosely with a towel, and set in a warmish place to rise for an hour.
Now I'll show you my secret bread-baking weapon:
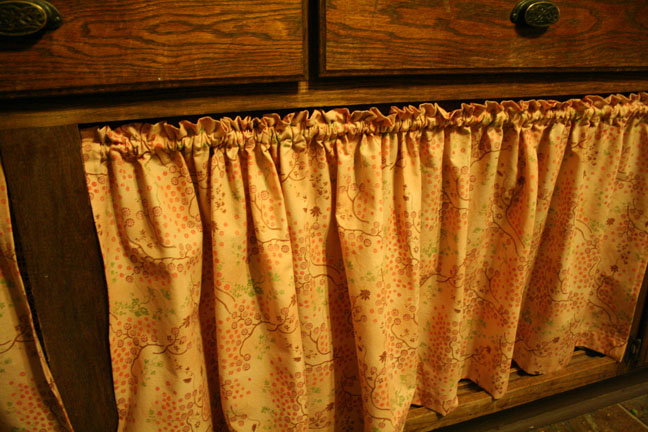
No, not that...behind the curtain:
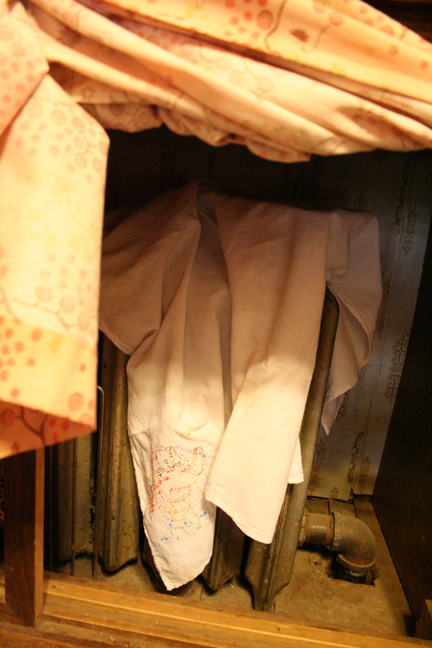
The kitchen radiator! It makes a nice, warm, cozy, undrafty spot for rising bread. I can fit 4 loaf pans on that puppy! As you can see, I like flour sack towels for bread baking. (Cute, embroidered flour sack towels make bread taste even better!)
But if you don't have this secret weapon in your kitchen, just set it on top of your oven while you're preheating it.
After an hour you are ready to bake:
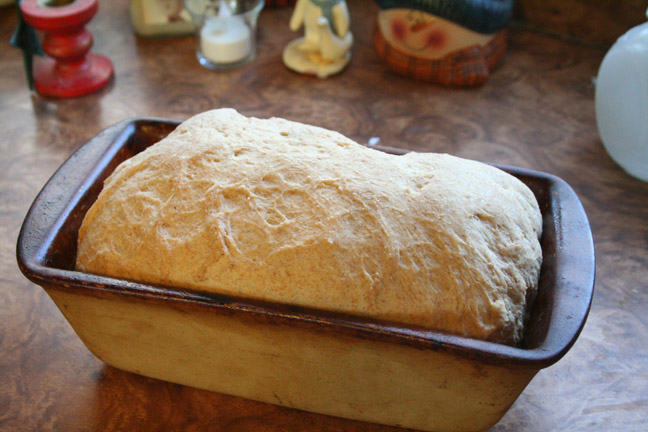
Preheat your oven to 450 degrees at least 30 minutes before you're ready to bake.
I always temperature check my bread loaves the first time I try a new recipe. For this loaf you want the temperature in the middle of the loaf to be between 200 and 210 degrees. In this case I baked it for 30 minutes to reach that temperature. Then slather the top of that beauty with butter. Remove from the pan and let cool completely.
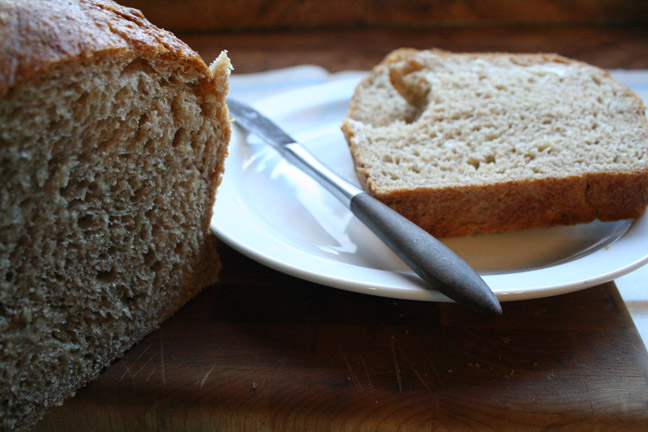
Or, if it's your birthday, you slice right into that baby. A nice hunk of cheese, or some butter and honey and hot chocolate, and you've got yourself lunch.
So you've gotten some shut-eye, shipped the kids off to the schoolbus, and now you get to greet your little creation:

Coochey-coochey-coo, isn't it adorable? It seems like they grow up overnight, doesn't it?
Time to shape that baby into the loaf you want it to be when it grows up! These steps come from The Bread Bible by Rose Levy Beranbaum. (I highly recommend this book!)
First stretch the dough out into a rectangle:

Then fold one side over, just past the halfway point:

and fold the other side over:

Then, starting at the top, roll the dough down about a third of the way, pushing the top edge into the dough:

(Obviously, you won't be wielding a camera and will do this with two hands.)
Repeat:

And repeat again. You end up with a nice, well, bread-shaped loaf:

Put it into your greased bread pan, cover loosely with a towel, and set in a warmish place to rise for an hour.
Now I'll show you my secret bread-baking weapon:

No, not that...behind the curtain:

The kitchen radiator! It makes a nice, warm, cozy, undrafty spot for rising bread. I can fit 4 loaf pans on that puppy! As you can see, I like flour sack towels for bread baking. (Cute, embroidered flour sack towels make bread taste even better!)
But if you don't have this secret weapon in your kitchen, just set it on top of your oven while you're preheating it.
After an hour you are ready to bake:

Preheat your oven to 450 degrees at least 30 minutes before you're ready to bake.
I always temperature check my bread loaves the first time I try a new recipe. For this loaf you want the temperature in the middle of the loaf to be between 200 and 210 degrees. In this case I baked it for 30 minutes to reach that temperature. Then slather the top of that beauty with butter. Remove from the pan and let cool completely.
Or, if it's your birthday, you slice right into that baby. A nice hunk of cheese, or some butter and honey and hot chocolate, and you've got yourself lunch.


6 Comments:
Kelli-
King Corn is tentatively scheduled to show in Greene on Monday, December 10th at 7 pm. I'll let you know if it becomes a go.
I've baked alot of bread in my time and that looks like a nice loaf of bread!
You are NOT good for my diet! (But I thank you anyway.)
Yum-O!
Your ARE making my hungry.
I'm on my third batch already. It's handy to make it at night with the mixer whirring away while the kids are brushing their teeth, etc.
My second loaf was really dense and didn't rise much in the pan. I think it was too dry and the yeast farts couldn't muscle up the dough.
Your trick on the final stretch and folding seems to perfectly shape the dough.
I use half wheat flour and half AP flour with 1T of wheat gluten tossed in. Seems to give it more body, but I'll just have to settle down and try the plain recipe.
Thanks for posting. Stay warm! My mom in Manchester says there's a good coat of thick ice on the driveway. We ended up with heavy wet (heart attack) snow in NE Wisconsin.
Godspeed.
Post a Comment
<< Home